第 4.9 节 安装 bspwm
bspwm,据说更符合 UNIX 哲学。
安装 bspwm
通过 pkg 安装
# pkg install xorg bspwm sxhkd rofi kitty feh picom polybar dunst lightdm lightdm-gtk-greeter wqy-fonts xdg-user-dirs
解释:
- bspwm, sxhkd: bspwm 组件
- rofi: 程序启动器
- kitty: 终端模拟器
- feh: 桌面背景修改
- picom: 窗口合成器,添加窗口透明,阴影,动效等
- polybar: 面板
- dunst: 通知管理器
提示
polybar 建议换成别的,因为 polybar 在 freebsd 上功能不全。建议换成 tint2,可以显示 systray 图标
配置工作
启用 dbus 服务
# sysrc dbus_enable="YES"
# service dbus start
创建配置文件
$ mkdir ~/.config
$ mkdir ~/.config/bspwm
$ mkdir ~/.config/sxhkd
$ cp /usr/local/share/examples/bspwm/bspwmrc ~/.config/bspwm
$ cp /usr/local/share/examples/bspwm/sxhkdrc ~/.config/sxhkd
$ chmod +x ~/.config/bspwm/bspwmrc
修改 ~/.config/sxhkd/sxhkdrc
super + Return
    kitty

super + @space
    rofi -show drun
设置 polybar 启动脚本和配置文件
$ mkdir ~/.config/polybar
$ cp /usr/local/etc/polybar/config.ini ~/.config/polybar
创建 ~/.config/polybar/launch.sh
#!/bin/sh
killall -q polybar
polybar example 2>&1 | tee -a /tmp/polybar.log
并执行
$ chmod +x ~/.config/polybar/launch.sh
设置 picom, polybar, dunst 启动
$ echo "picom &" >> ~/.config/bspwm/bspwmrc
$ echo "\$HOME/.config/polybar/launch.sh" >> ~/.config/bspwm/bspwmrc
$ echo "dunst &" >> ~/.config/bspwm/bspwmrc
启动 bspwm
通过 startx
$ echo "exec bspwm" >> ~/.xinitrc
$ startx
通过 lightdm
创建 /usr/local/share/xsessions/bspwm.desktop
# mkdir /usr/local/share/xsessions
# ee /usr/local/share/xsessions/bspwm.desktop # 写入以下内容

[Desktop Entry]
Name=bspwm
Comment=Log in with bspwm
Exec=/usr/local/bin/bspwm
Type=Application
启动 lightdm 服务
# sysrc lightdm_enable="YES"
# service lightdm start
一些操作和设置
Windows + 空格:用 rofi 启动应用
Windows + 回车:启动终端(即 kitty)
更多快捷键可以参考 ~/.config/sxhkd/sxhkdrc
生成桌面文件夹(Downloads,Documents 等)
$ xdg-user-dirs-update
设置桌面背景:
$ feh --bg-center "$HOME/.local/share/wallpapers/wallpaper.jpg"
执行一次后自动设置:
在 ~/.config/bspwm/bspwmrc 中的 polybar 启动脚本之前添加
$HOME/.fehbg &
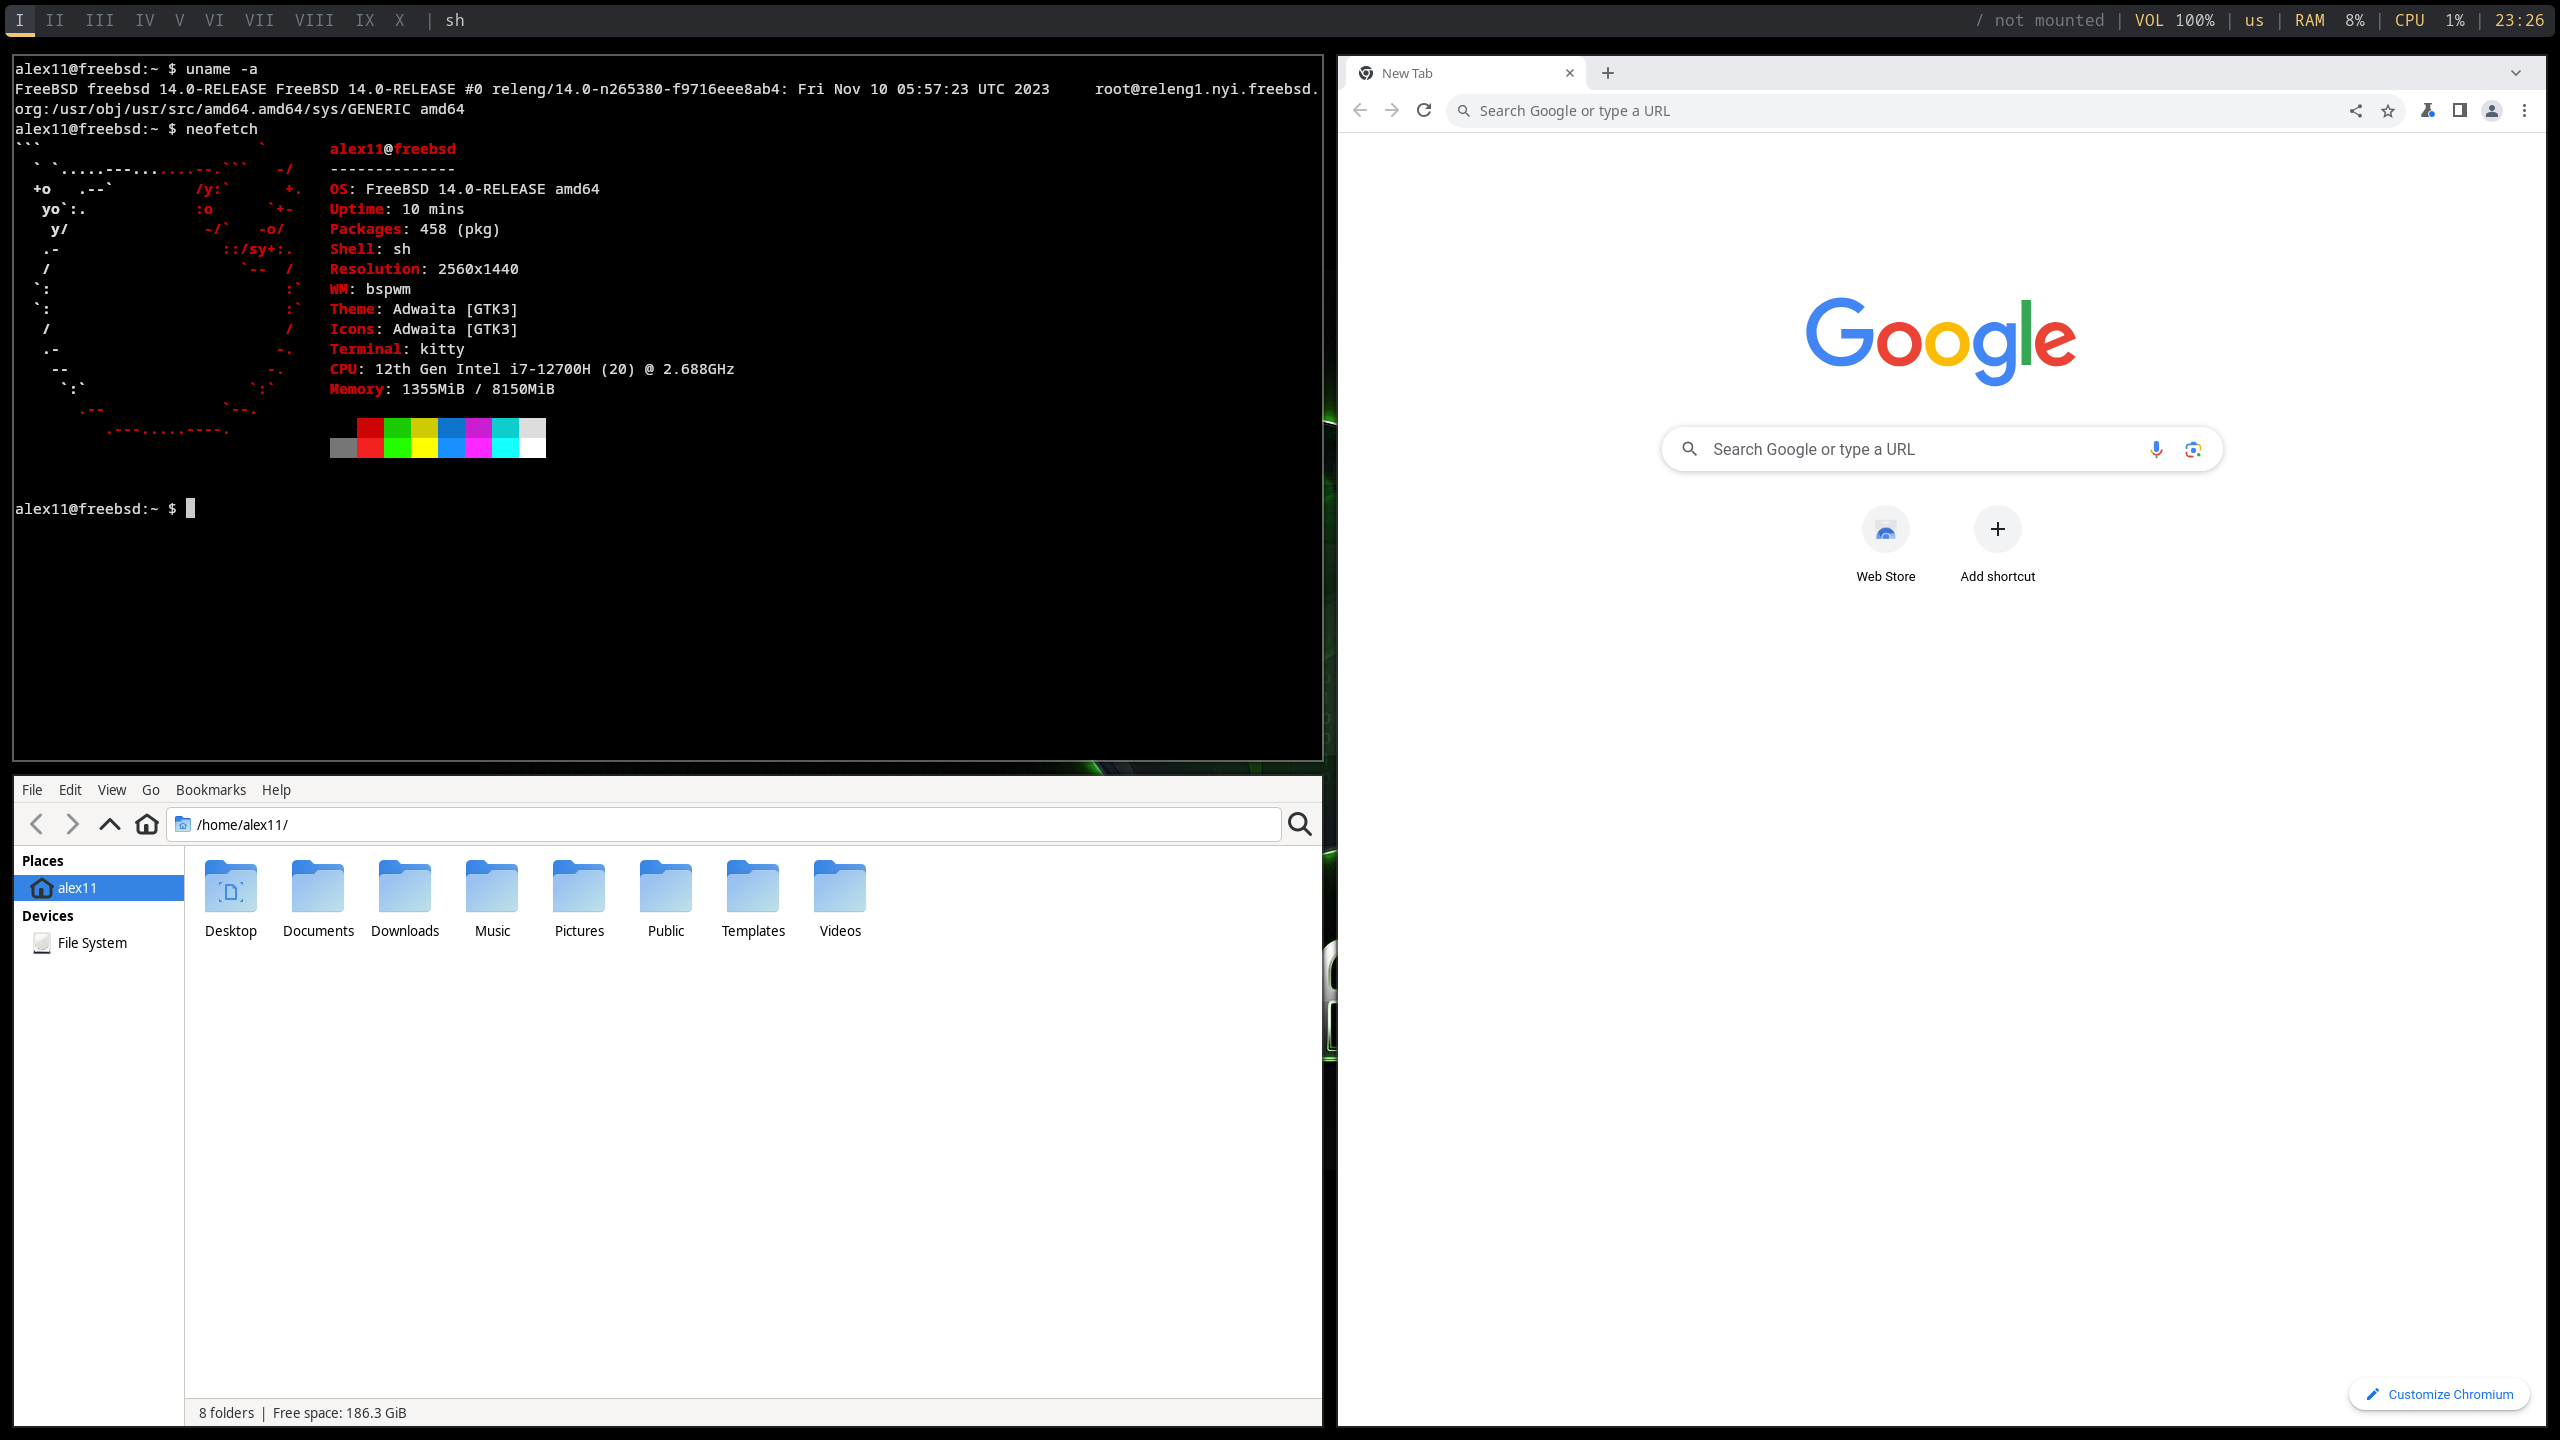
展示图片

注:图片中的 Chrome 浏览器,Thunar 文件管理器均需要自己安装。